I have received many questions about my site and how I created it – So although this is not related to trading I wanted to answer some of the questions on how to host a wordpress site.
In order to setup a blog website or wordpress site on your own domain name you need a place for the website/blog to “live” . The site will live on a Host or a server. There are many hosting companies out there – I have personally used and recommend both Bluehost and Hostgator. They are very similar in nature and priced similarly and you can install wordpress for your blog on either very easily.
Once you have a host you need to pick your domain name. Some people prefer to have their domain name with a separate company outside of the company that is hosting their website and some prefer to keep them in the same place. You can do either.
You can use a separate company like Namecheap.com to buy your domain name or you can use Bluehost and Hostgator all in one place. Personally I use namecheap.com for my domains and use hostgator and bluehost for hosting. One thing to note is that if you use a different company for your domain name you will have to go through a few easy extra steps to point your name to your host.
Bluehost Example: This example we will assume you are going to get your domain name directly from bluehost during the purchase of your host provider.
- Click this Icon to go to the Bluehost special deal:

- Click Get Started Now
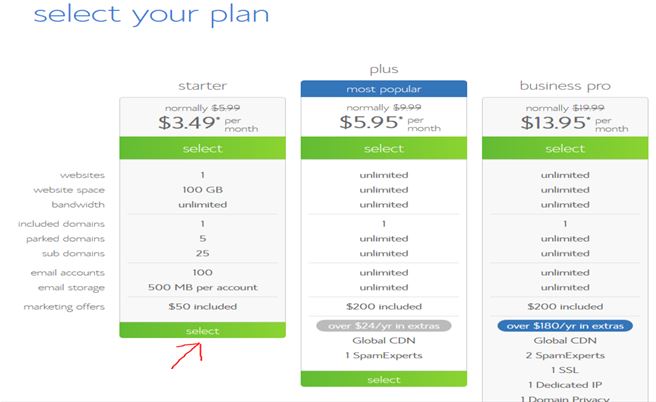
- Select the package you want – this example I will chose the start package at 3.49 per month

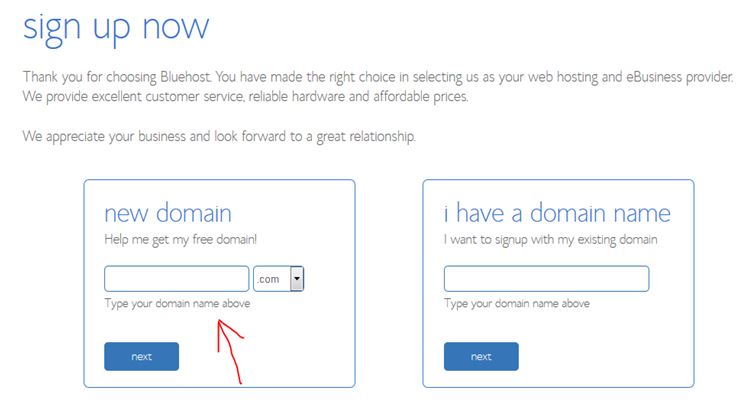
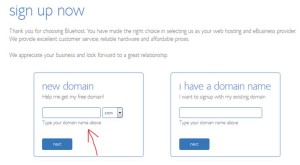
- Under the I Need a Domain section enter the domain name you want:
- If the domain you want isn’t available bluehost will provide some suggestions that are available – and you can select one of those or scroll down and try entering a new name. Do this until you find an available name that you like.
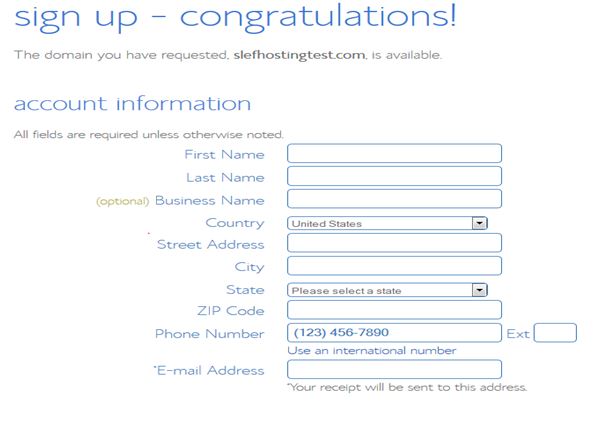
- Now that you have a domain name picked – go ahead and enter you personal info – name, address – hosting package you want to sign up for etc and click next
- Note after you scroll down there are add ons you can select for your hosting package – click the more info under each if you are unsure you want the extra.

- After you click next you will be asked if you want additional add-ons – this will be up to you – you can say no to them all for now and you can always add later if you want. Then Click Complete
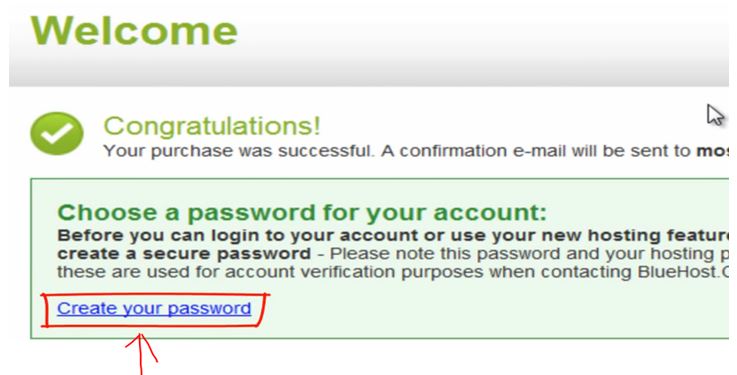
- Then that’s it – you now have your hosting account – Click Create your password
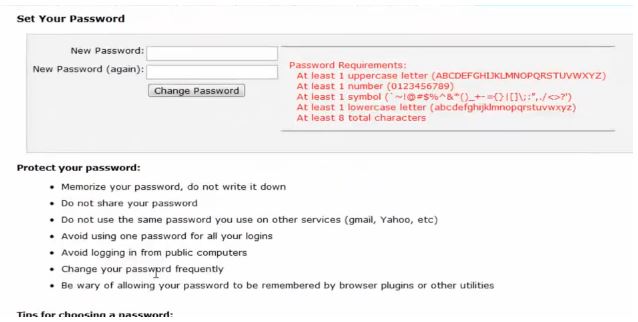
- Follow the directions on the appropriate password
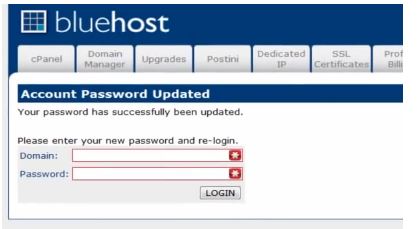
- After submitting your new password you will have to login – with your domain name and the password you just create
- You will then be logged in to your main panel called the CPanel.
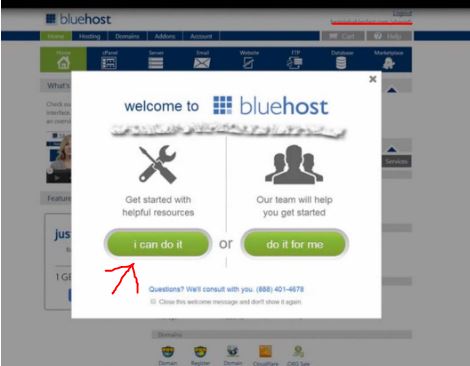
- You may see the below screen – click I can do it (unless you want bluehost to do it for you for a charge)
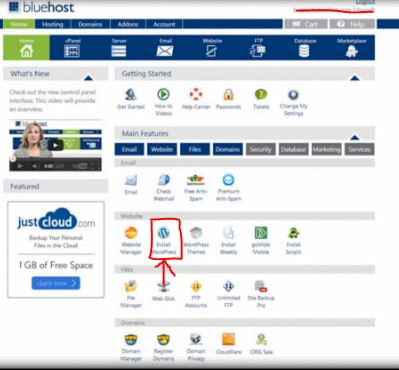
- Now scroll down to the Website section and look for the Install WordPress Icon and click on that
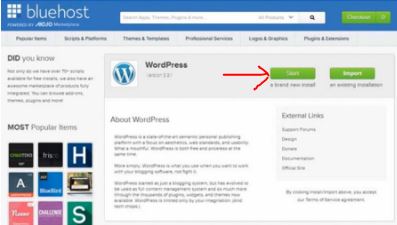
- Click the Green Start button to begin the installation process
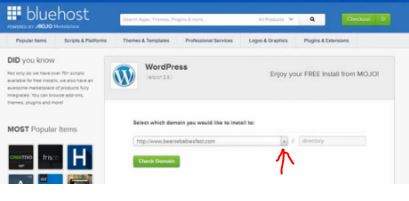
- The next page will have a drop down and it will say Select which domain you would like to install to: Click the drop down and select the one with OUT the www in front of it.
- Click the Green Check Domain button – Wait a few seconds and click the Green Continue button
- You will want to check both boxes on the next screen.
- Show Advanced Settings (this box will expand – see below)
- I have read the terms and conditions
- When you click the first box it will expand with some information boxes that you will want to fill in that relates to your new wordpress installation
- Site Name or Title
- Admin Username
- Admin Password
- Admin Email Address
- Click the Green Install Now button
- WordPress will start the installation process installing on to your host
- During the installation process Bluehost will try to make additional sales – you can skip all these – you will see a green install status bar at the top showing you the progress of the installation.
- Once the status bar completes there is a drop down – click the drop down and click View Credentials
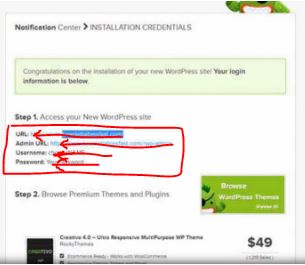
- This will take you to a page that will provide the details of your new website – you will want to note all this information down
- URL (general public goes to this website address)
- Admin URL (used for adding content to wordpress – (yoursite.com/wp-admin)
- Username:
- Password:
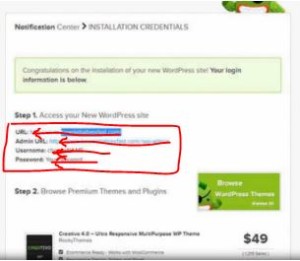
- Click the “Admin URL” link to test out the site
- This will direct you to a page that looks like this
- Enter your username and password and click login – you will then be redirected to your wp-admin Dashboard page
- You are now ready to post content to your blog – but first you will want to confirm with Bluehost on your recent purchase so you have no outages and they can confirm it was actually you who just created the account and not a thief. Bluehost will call you or you can call them to get it completed right away bluehost number: 1-888-967-7006
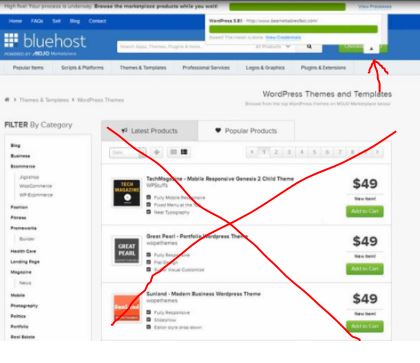
- Now you will want to play around with your latest wordpress site – WordPress has tutorials you can view as well – but for now click customize your site.
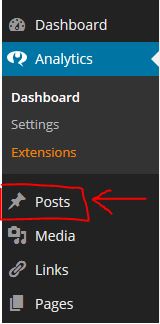
- Click the Posts section on the left hand side of the site
- Click Add New
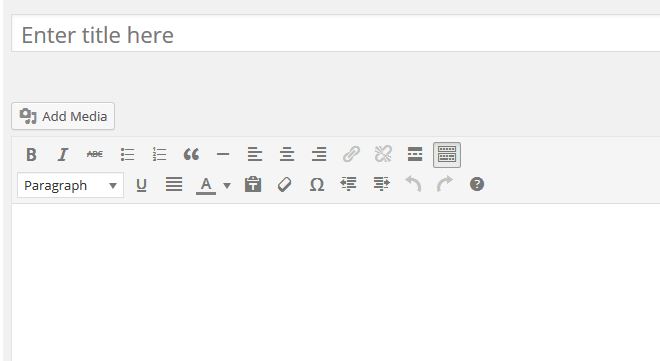
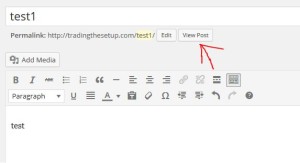
- It will look something like below – you can add your title and start typing away in the lower section – it’s a similar layout to word
- Then when done click on Publish button on the right hand side of the page
- You have just published your first item on the internet – you can view this new post in a couple of ways.
- Open a new Web browser page and go to your domain name url
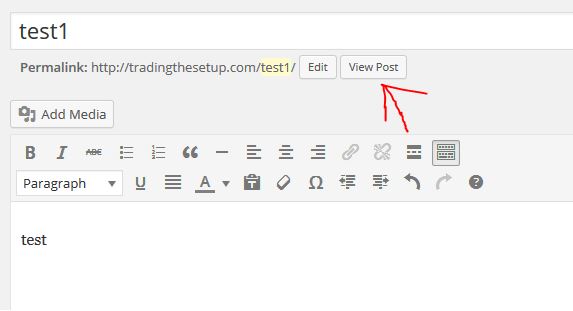
- Or at the top of your post above the Title you can click the View Post button
- CONGRATULATIONS ! – You have just set up your very own hosting account – and installed WordPress and created your first post – that wasn’t too hard right?